


Step 1: Remove your start from the fridge after a few days, or is starting to accumulate liquid on the top. This liquid (there will be more of it the longer you wait to feed your start) is a waste product created by the start feeding. It’s alcohol mixed with excess water from the previous feeding. Pour off the liquid and stir your start.
***At this point, you would measure out any starter that you want to use to bake with. After it’s stirred, just measure out what you need, then continue to feed your remaining start to keep the cycle going.
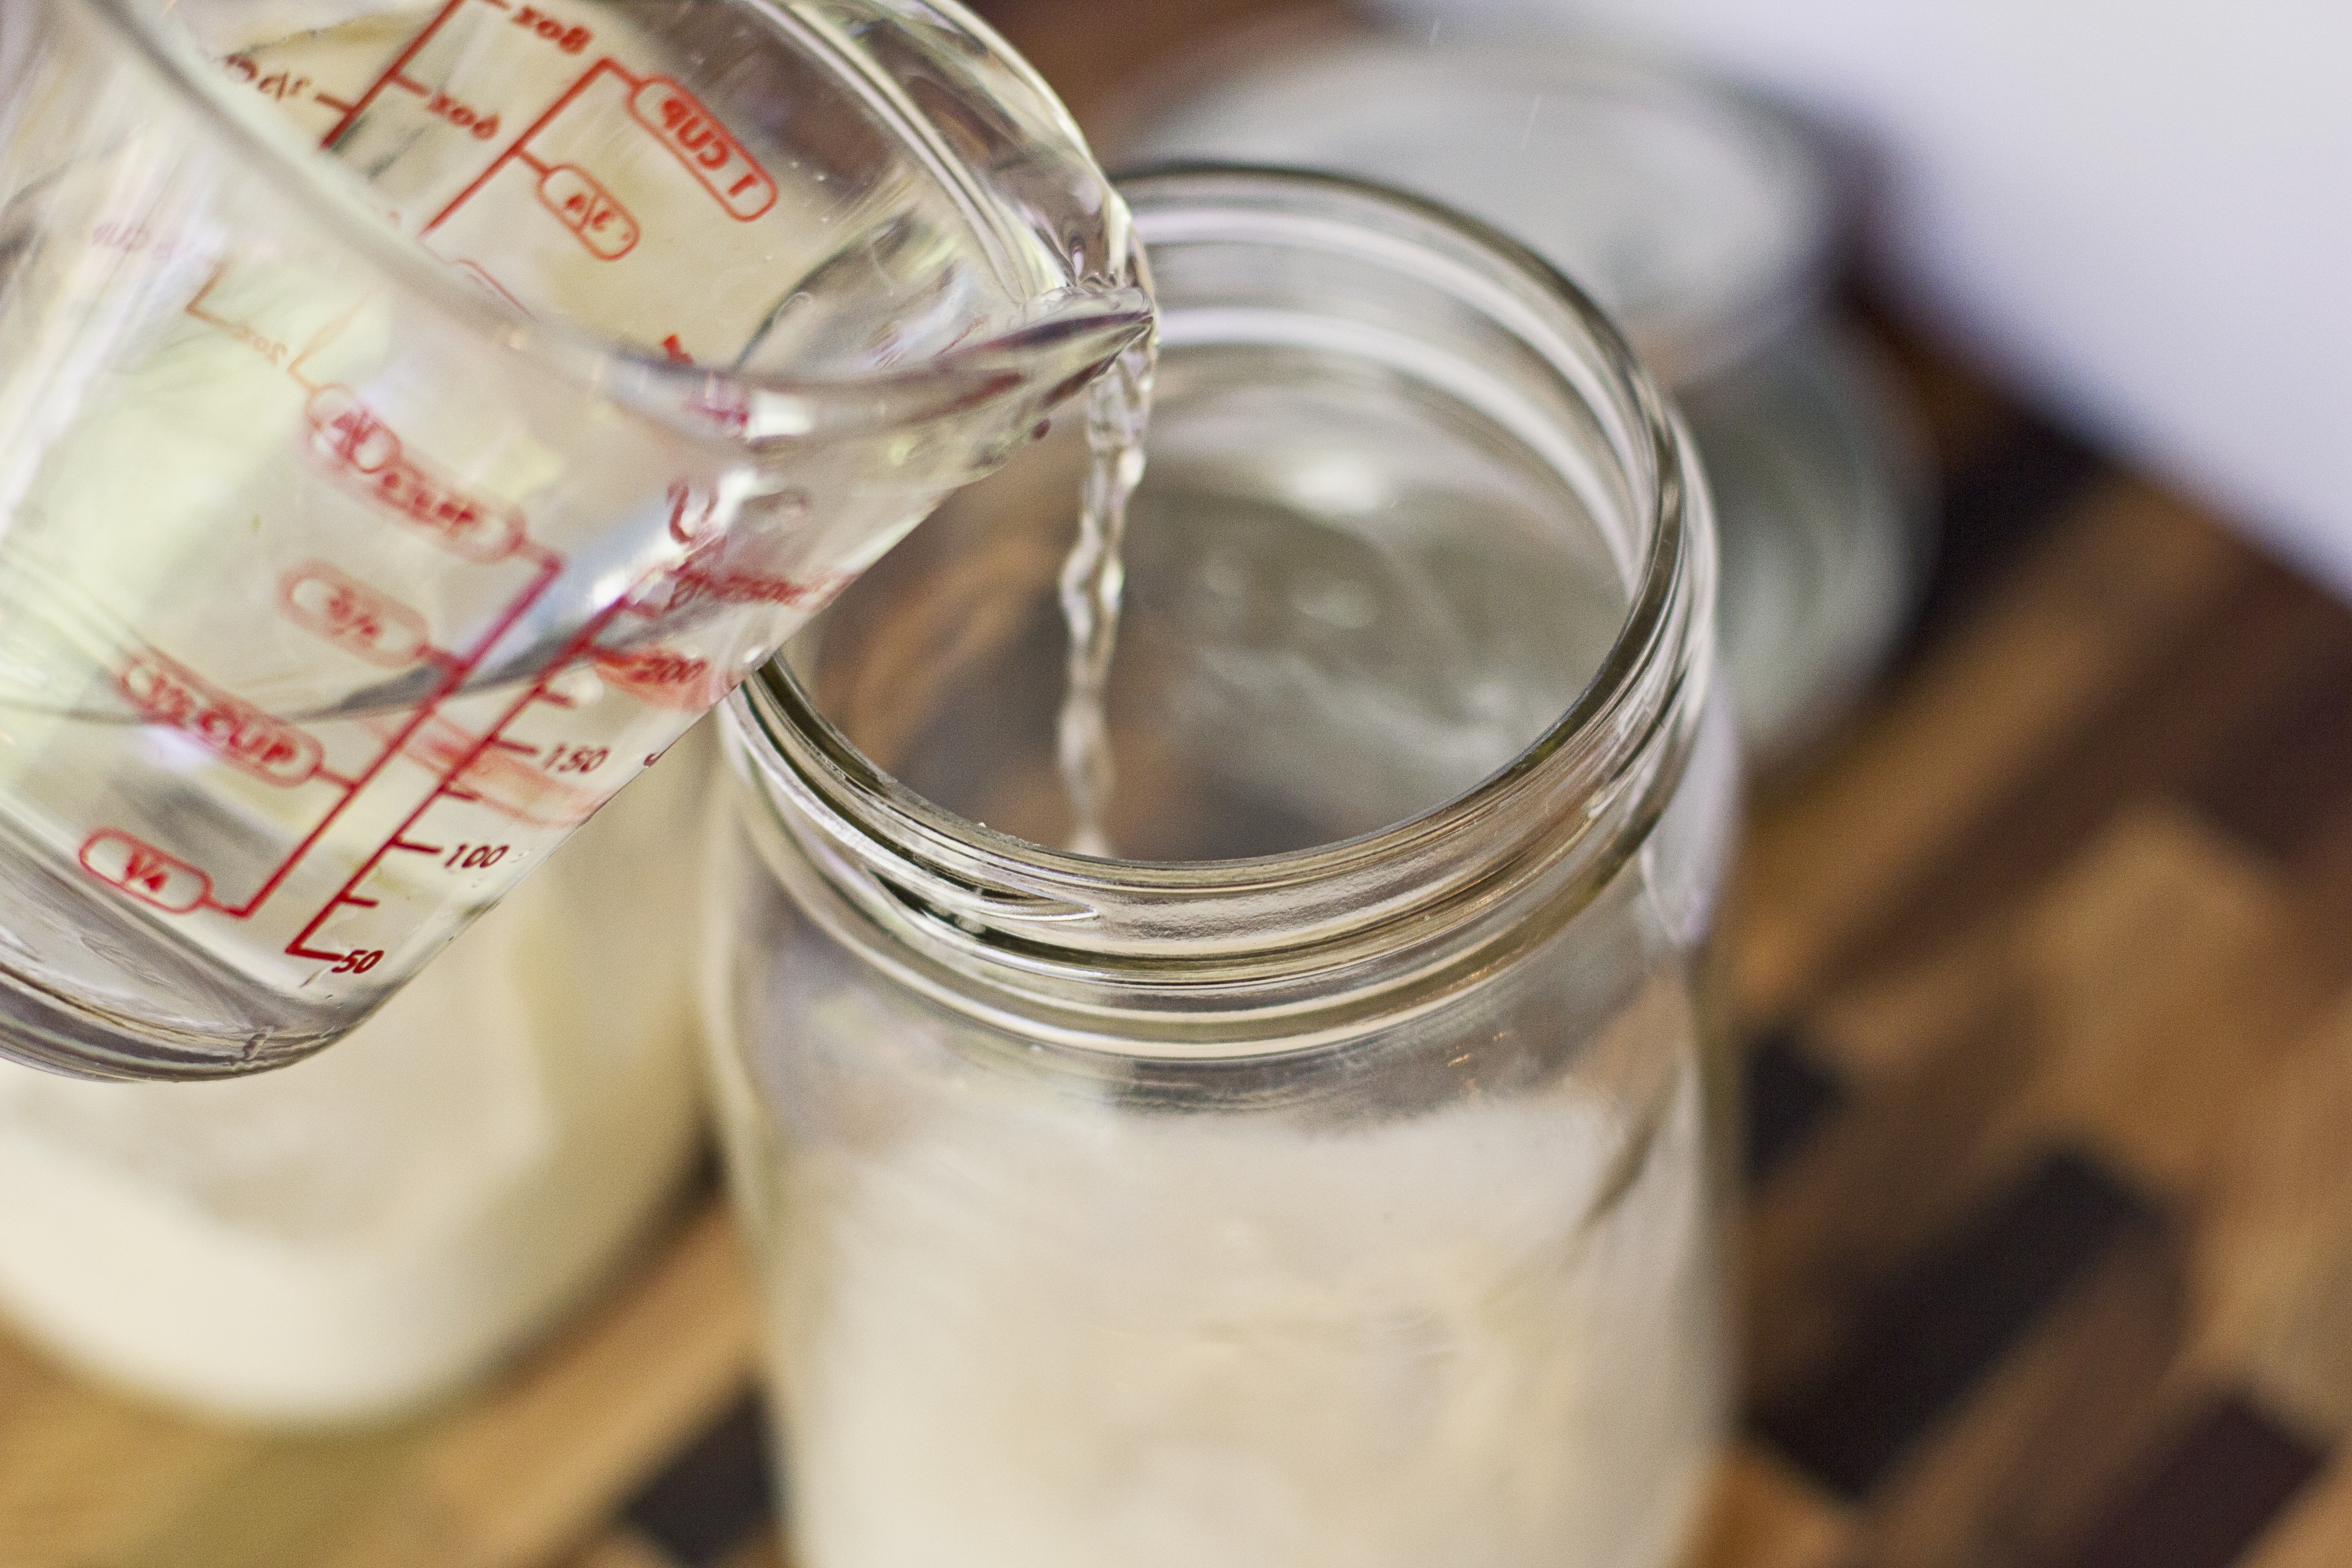
Step 2: Your start will double in size every time you feed it. So if you begin with 1 c starter, it will turn into two cups after you feed it. Add the same amount of warm water as starter you have and stir it together.
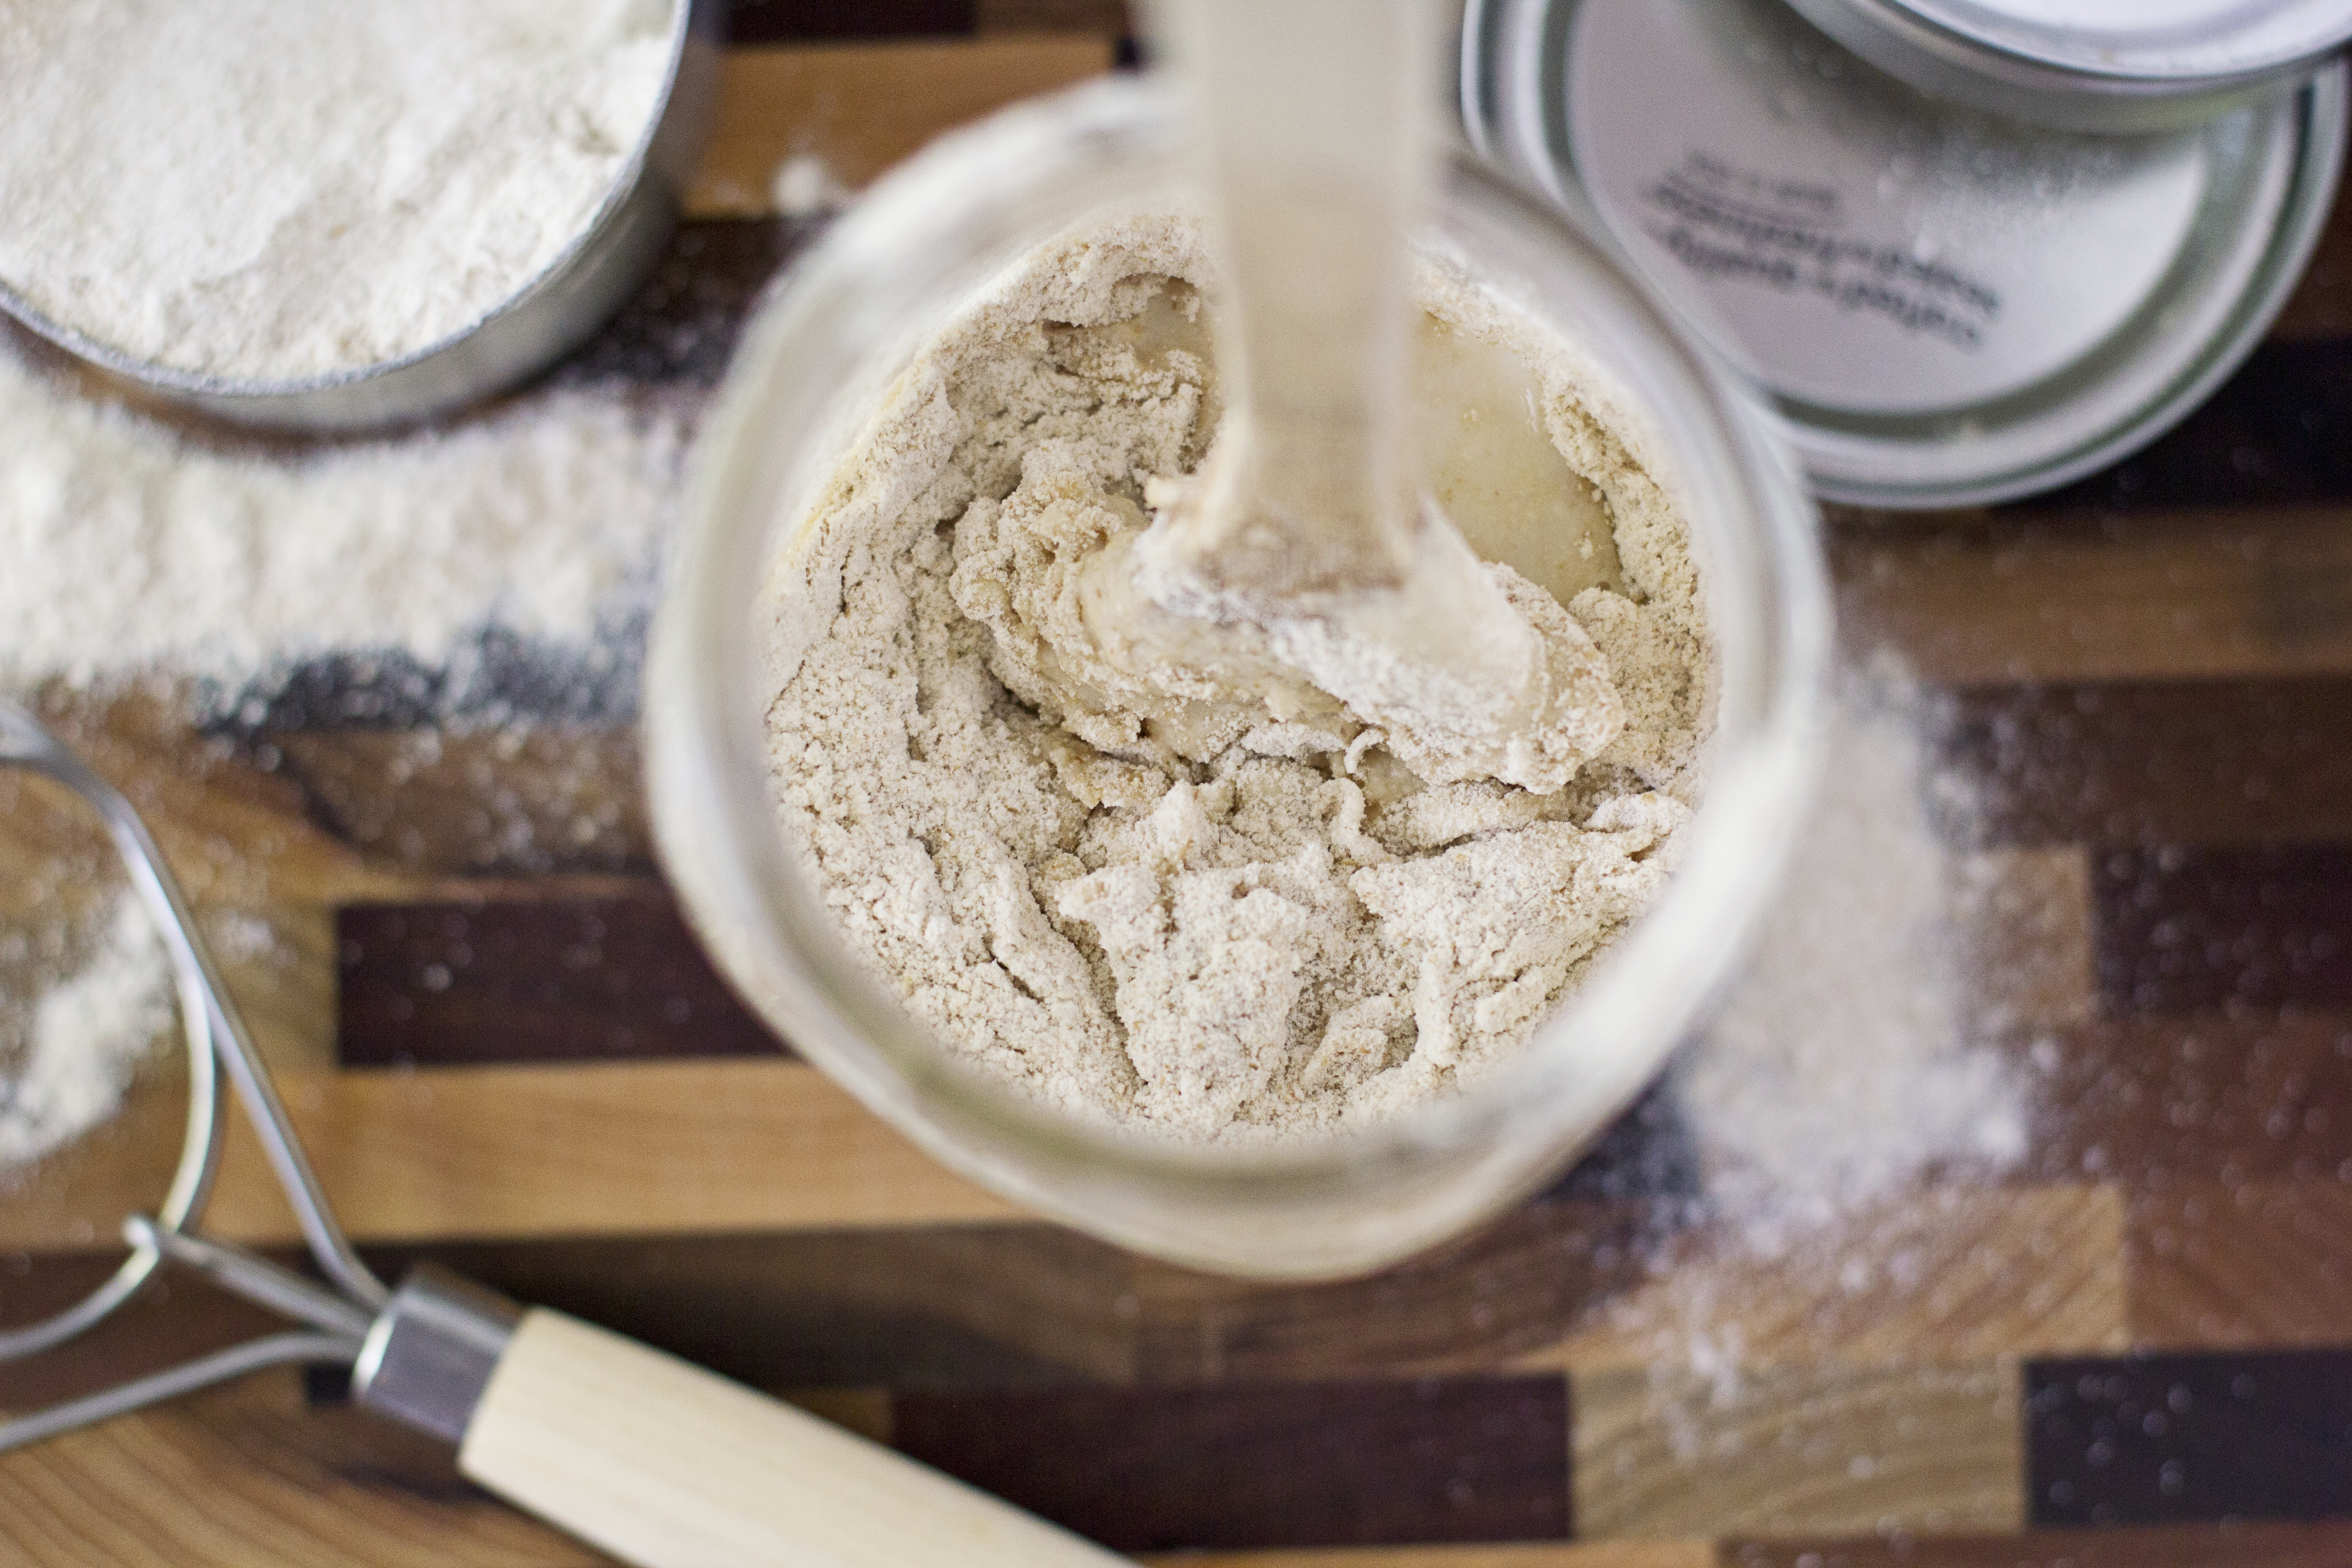
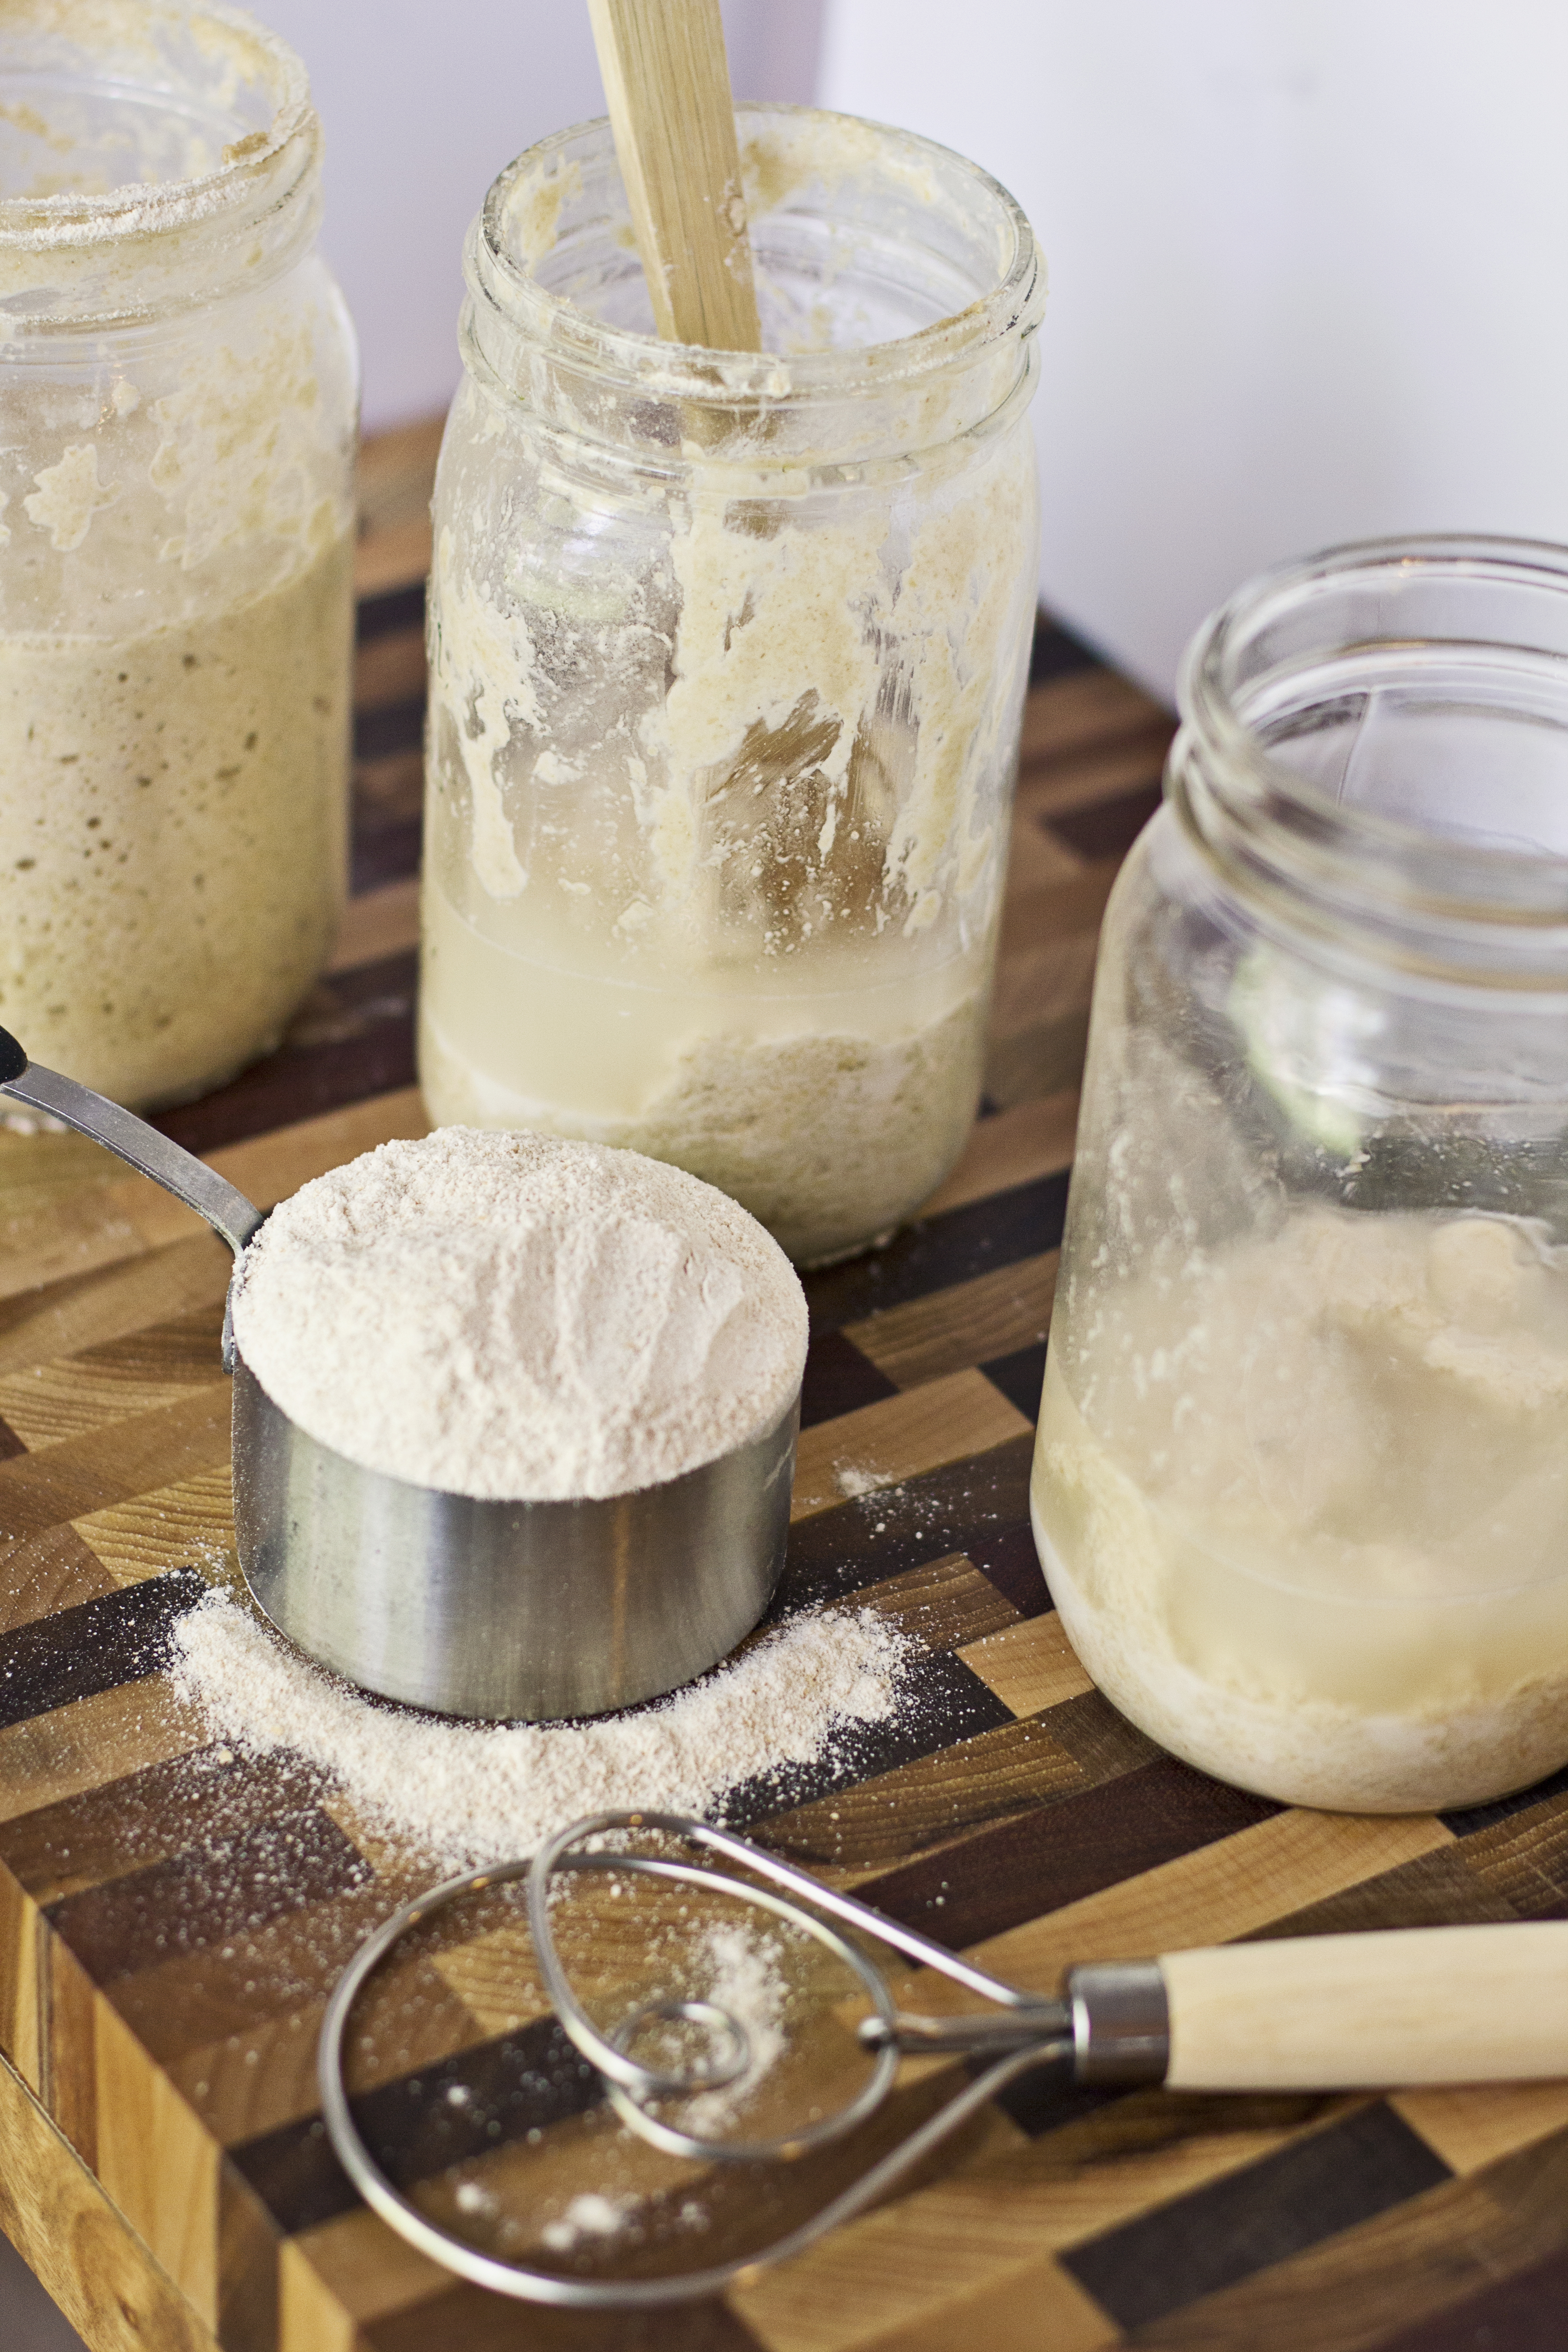
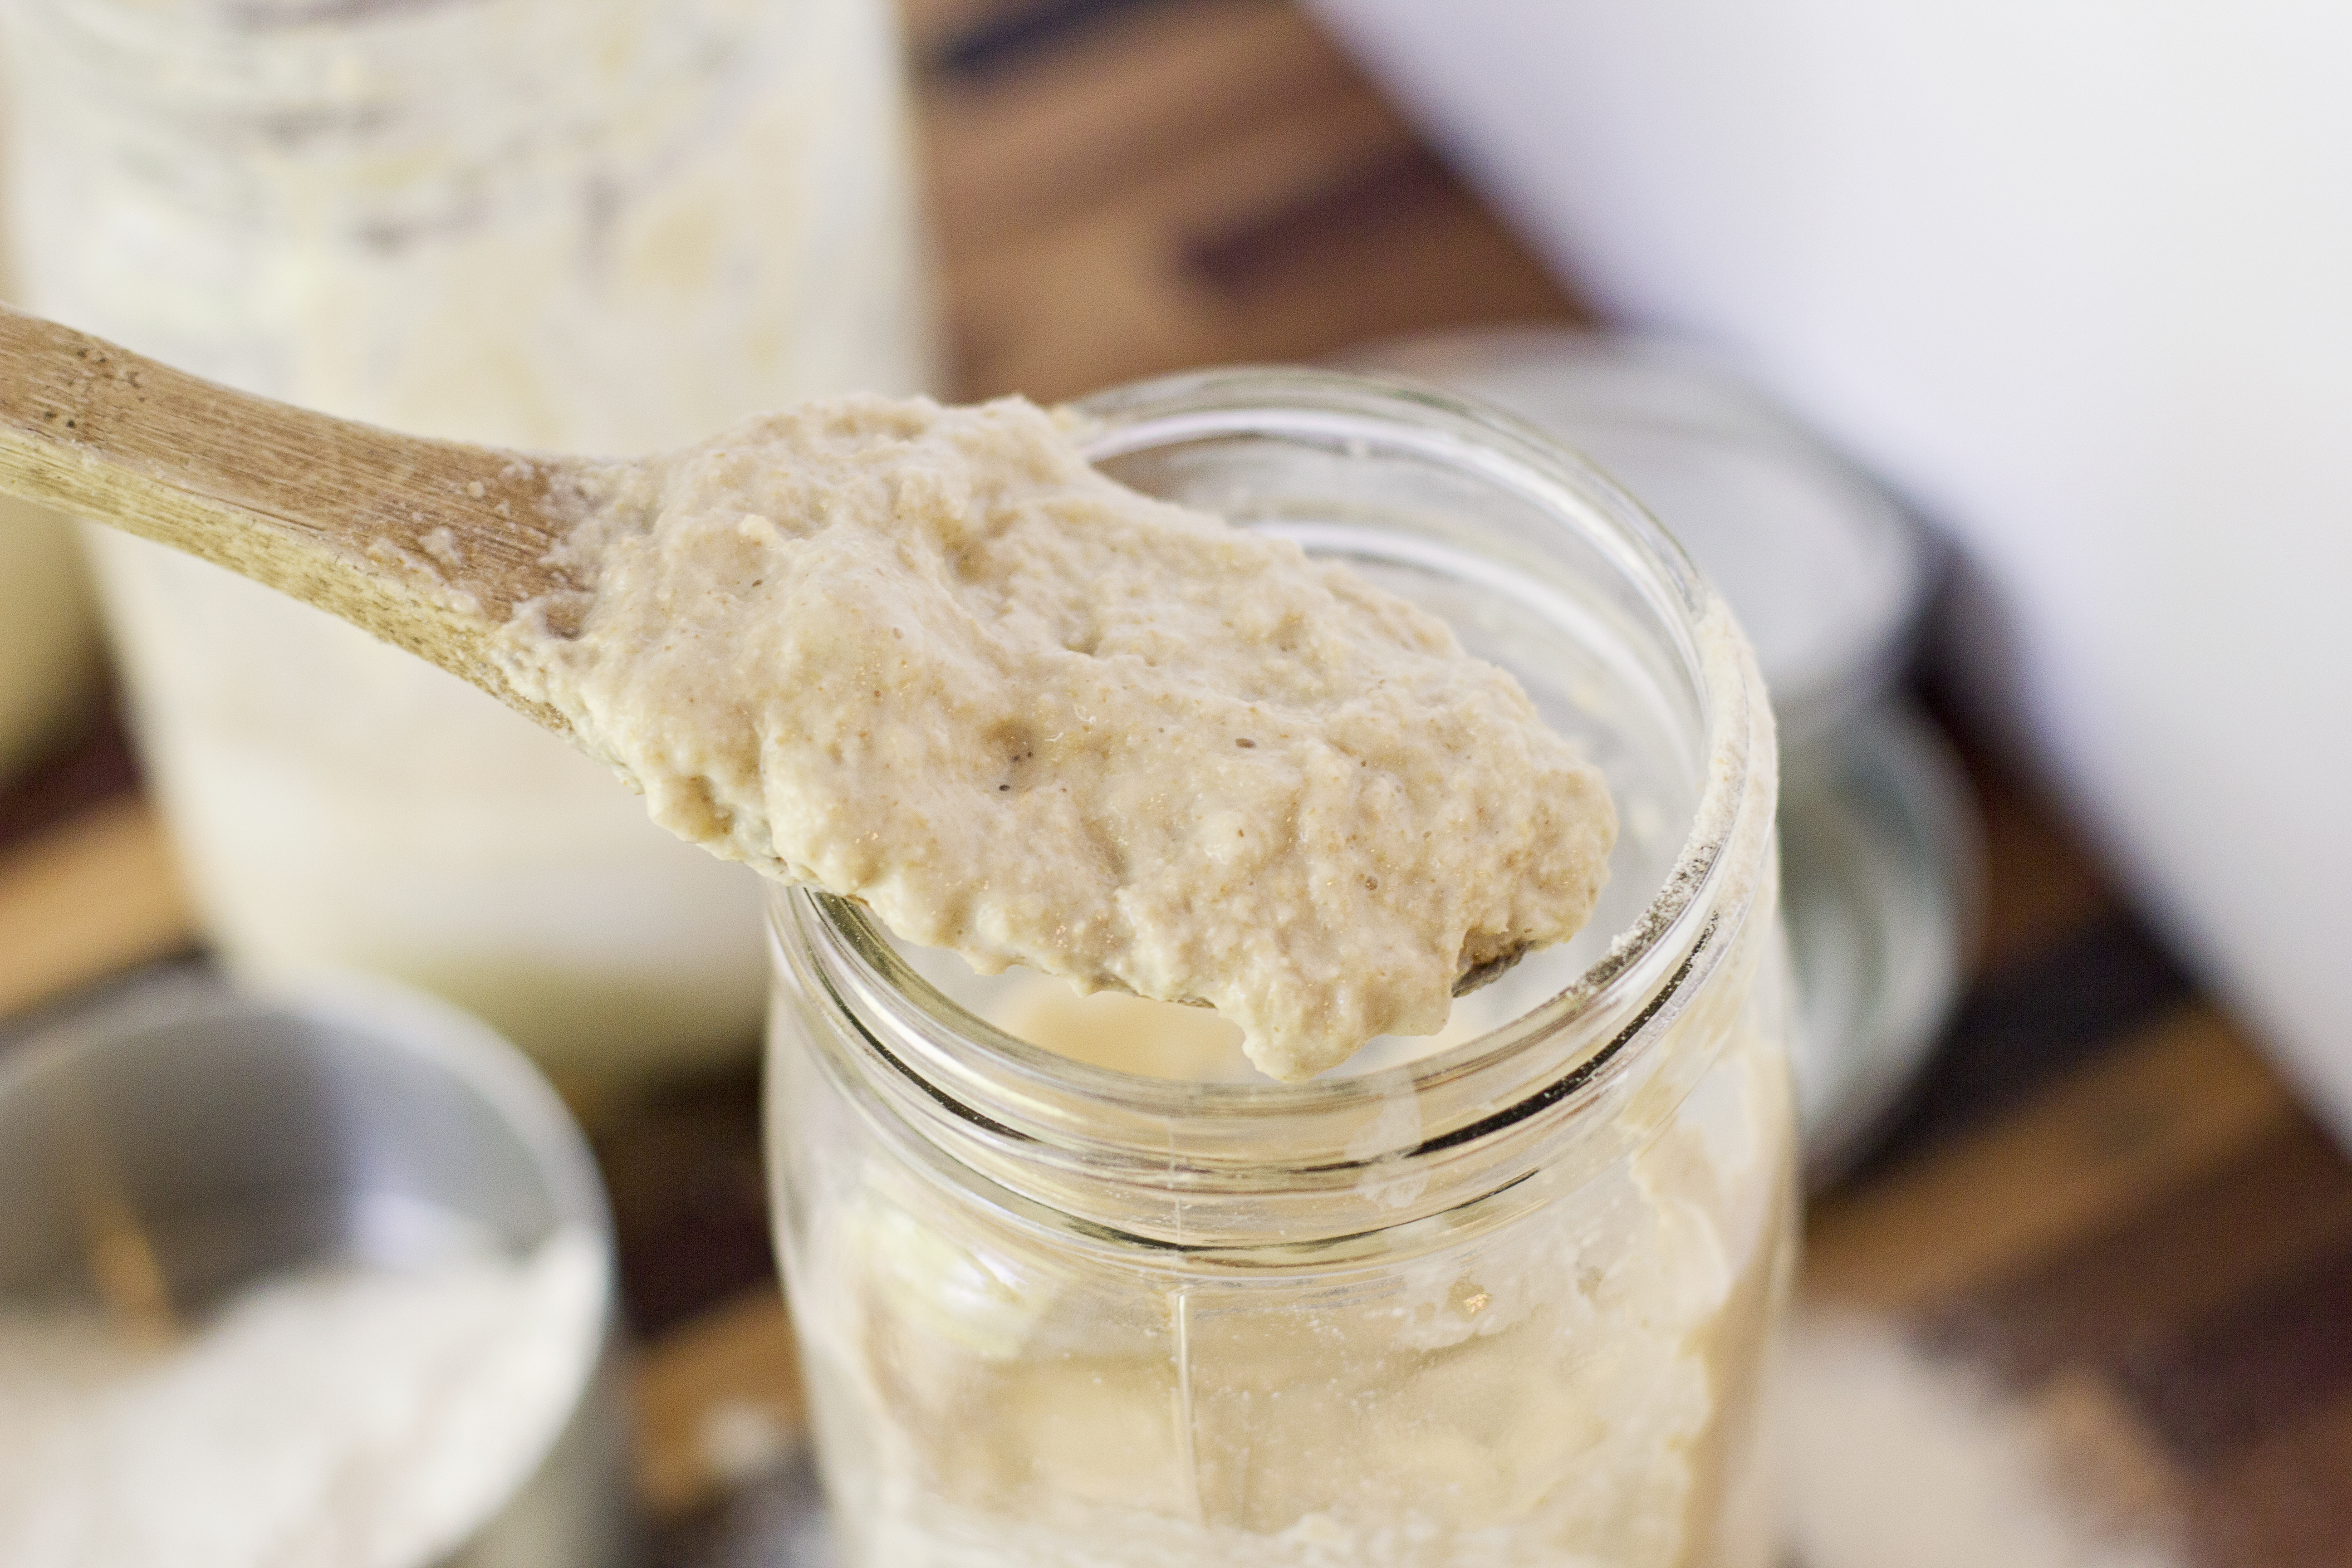
Step 3: Now add a heaping amount of whole wheat flour to your starter. Again, use the same amount of flour as you have starter. For example, if you have 1 c starter, add 1 c water and 1 heaping cup flour. Mix well. The consistency should be like thick pancake batter.
Step 4: Screw on your lid. Place it back in the fridge and you are done!
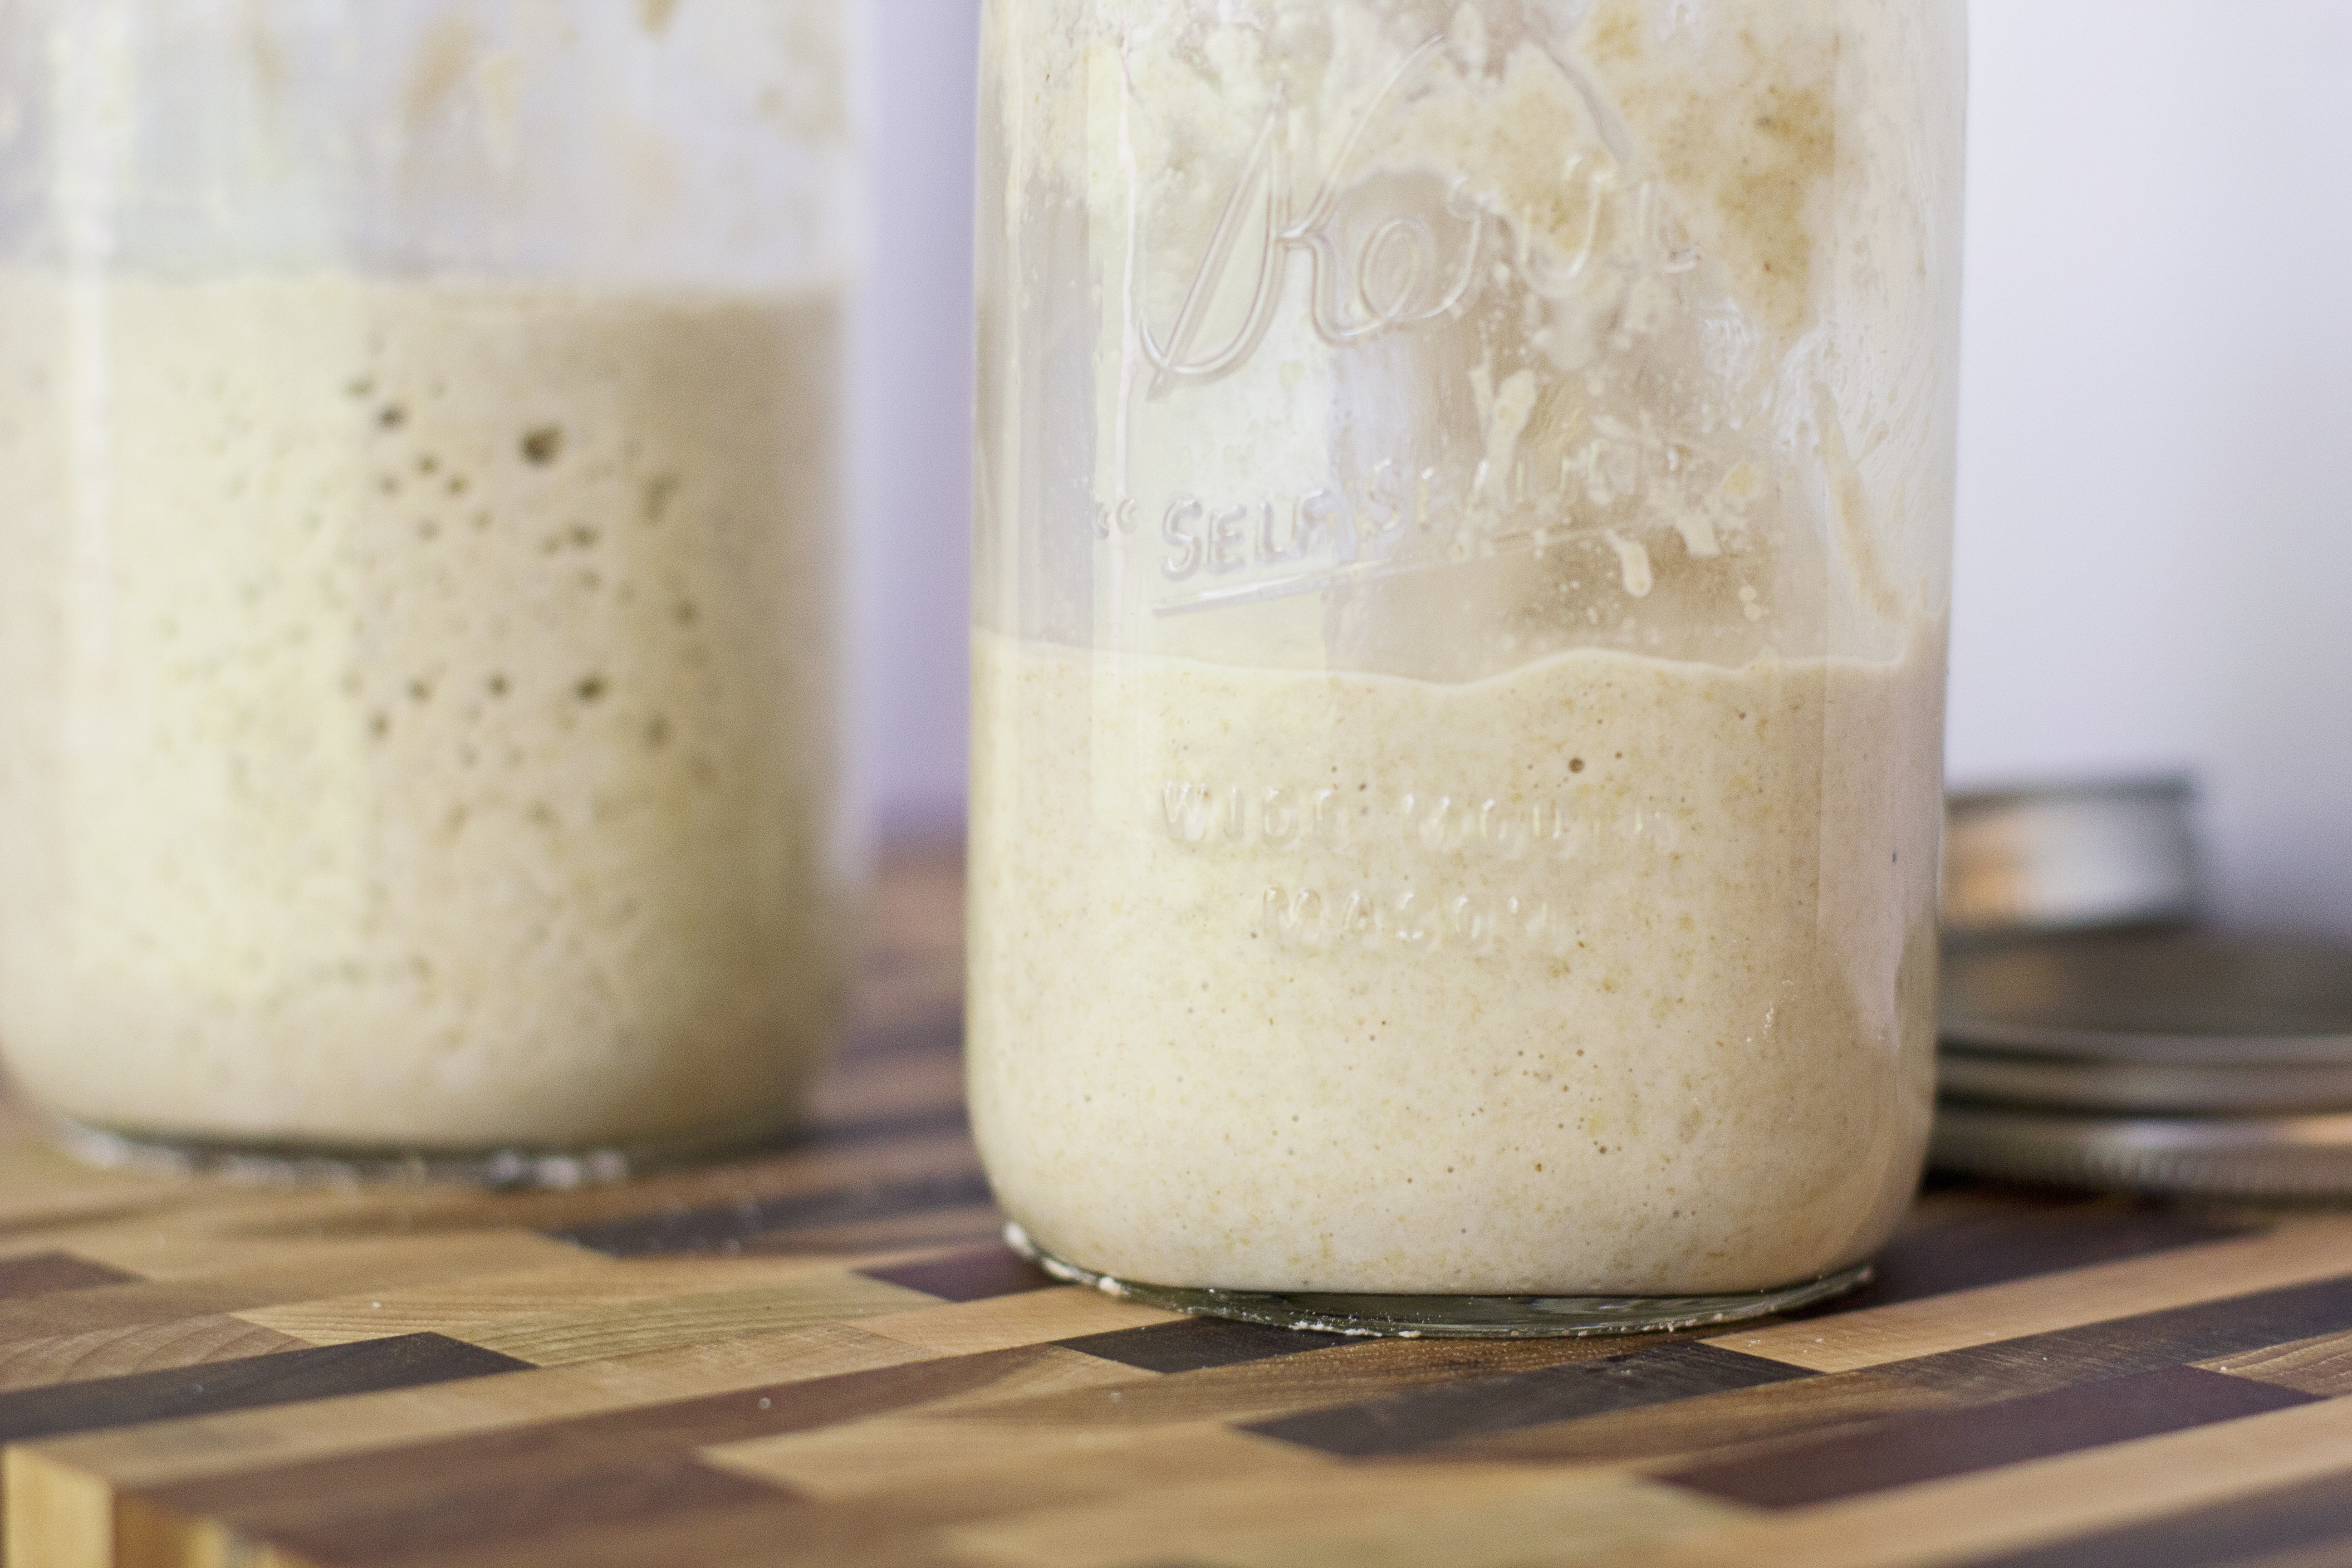
Try to keep your starter either in the door of the fridge or at the front of the fridge somewhere. This serves two purposes: first, you see it all the time and it reminds you to check on it and see if it needs feeding, and it’s also not as cold and will help it to grow better.
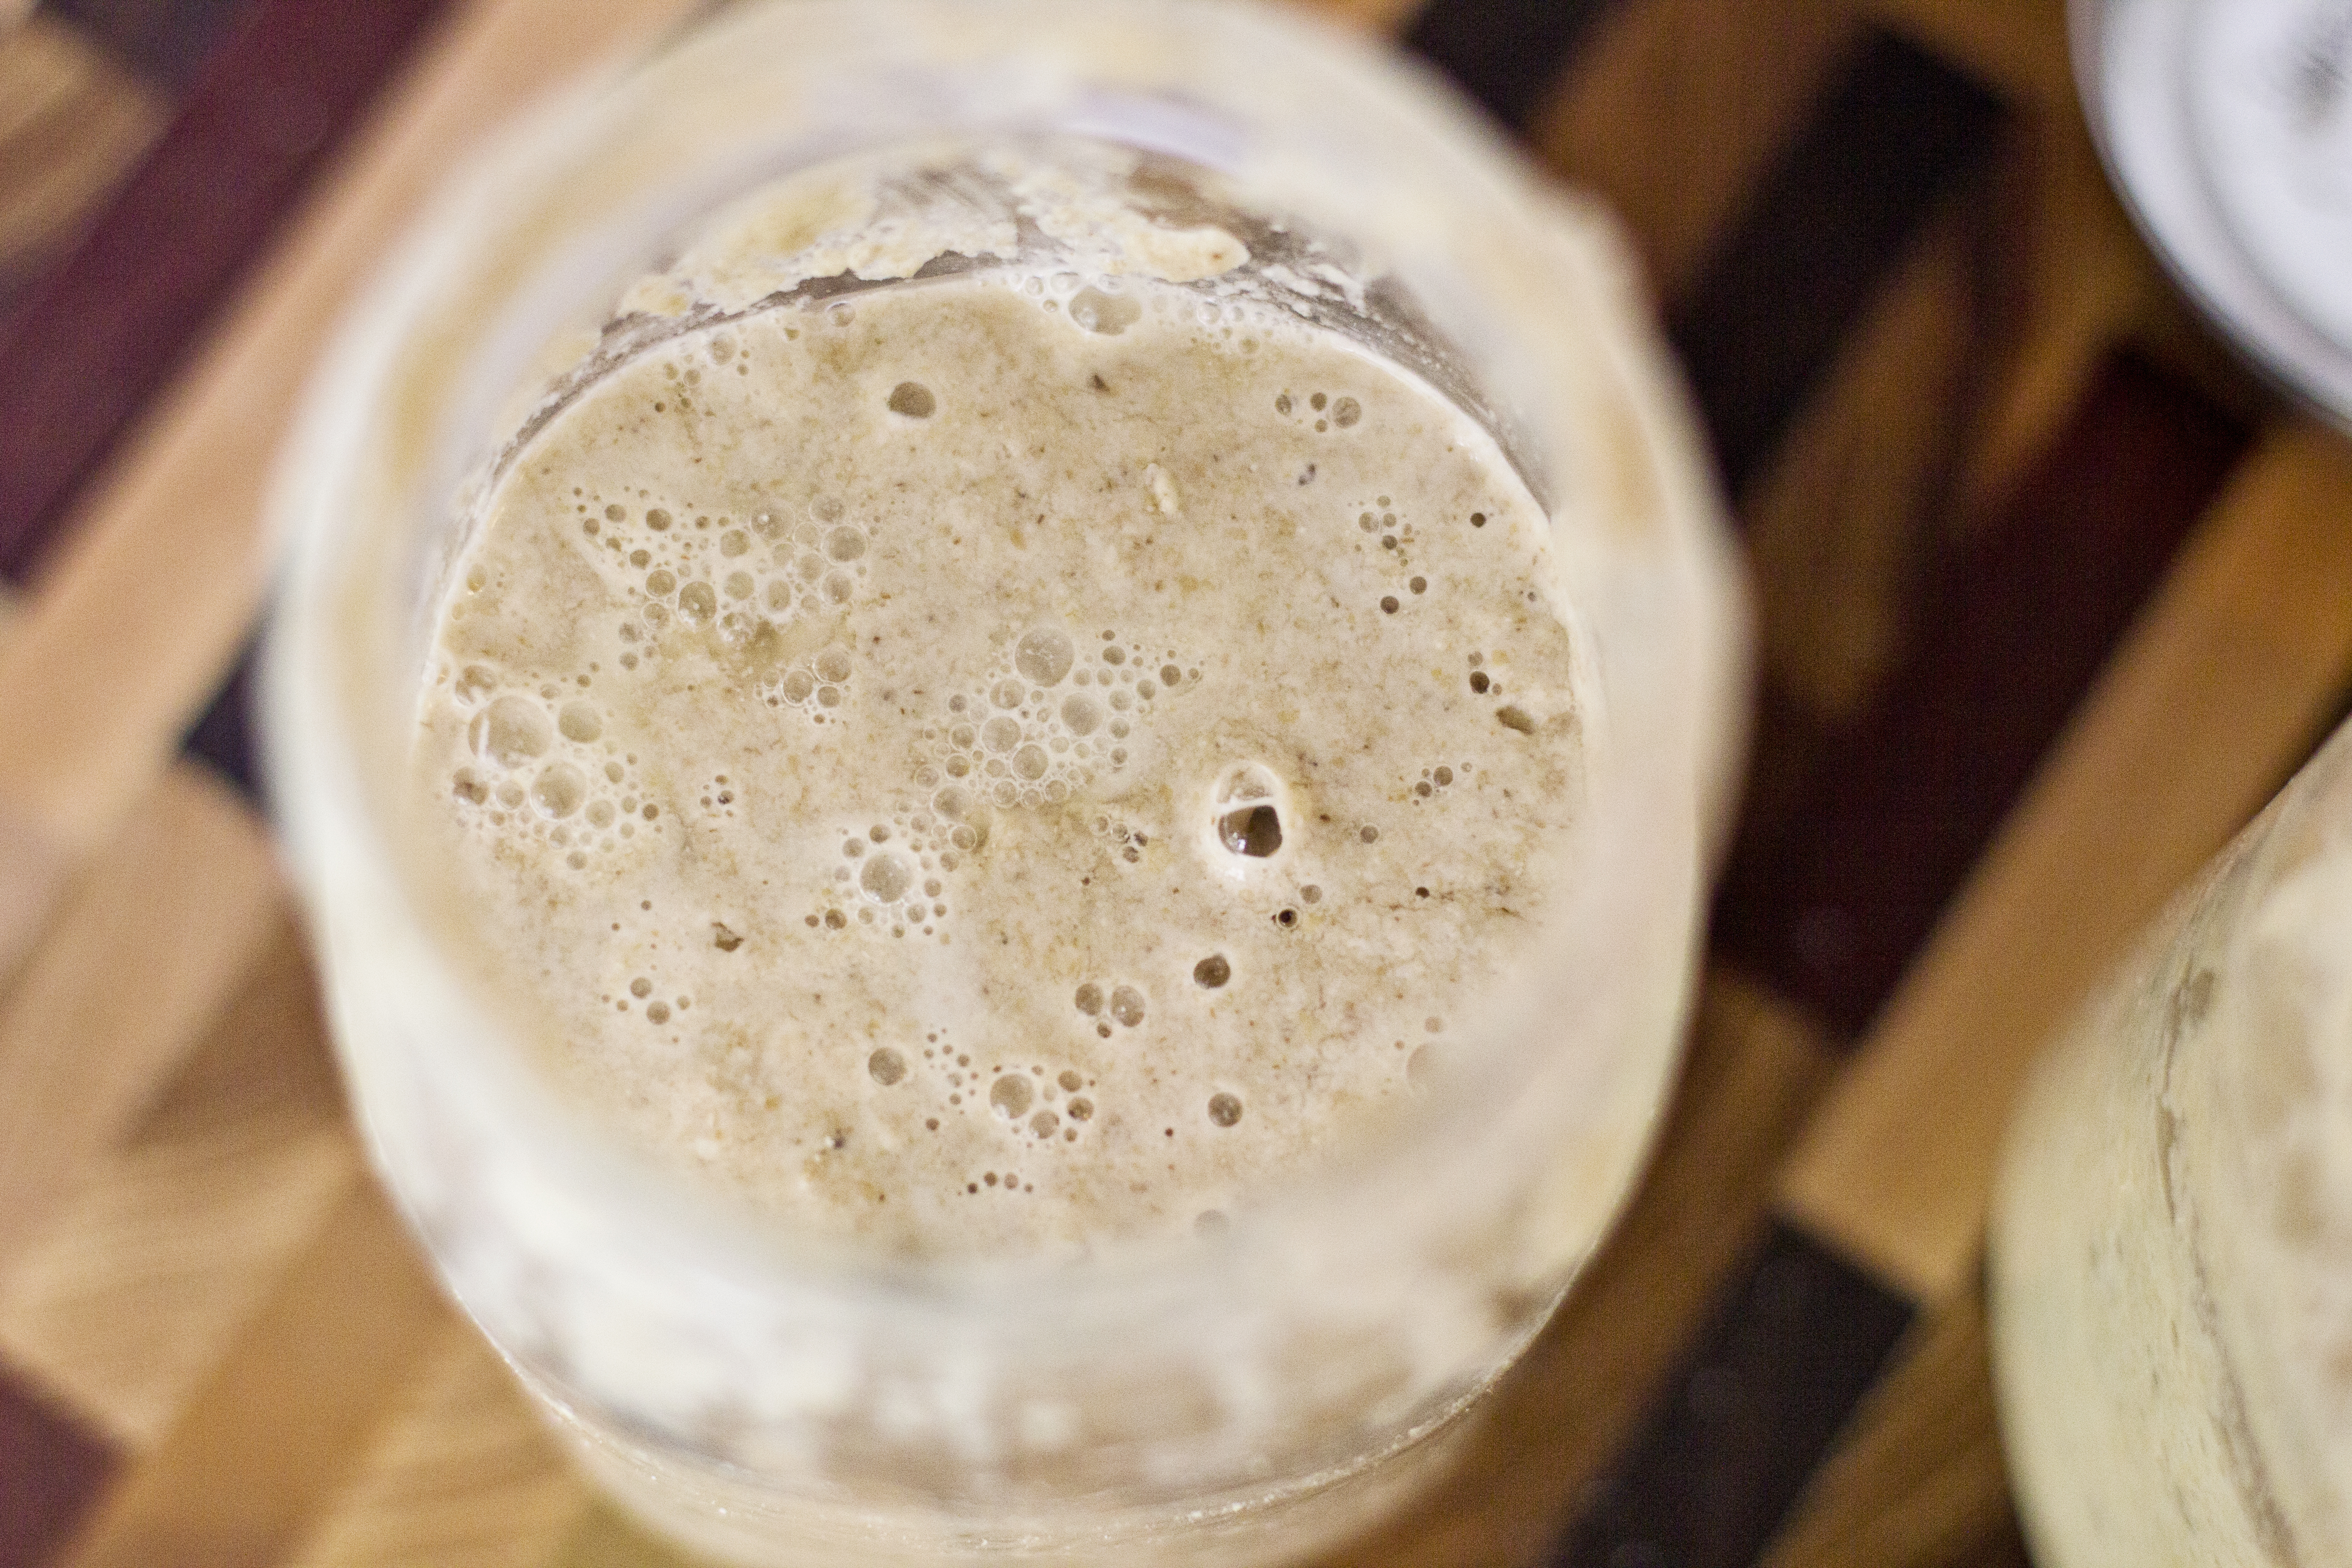
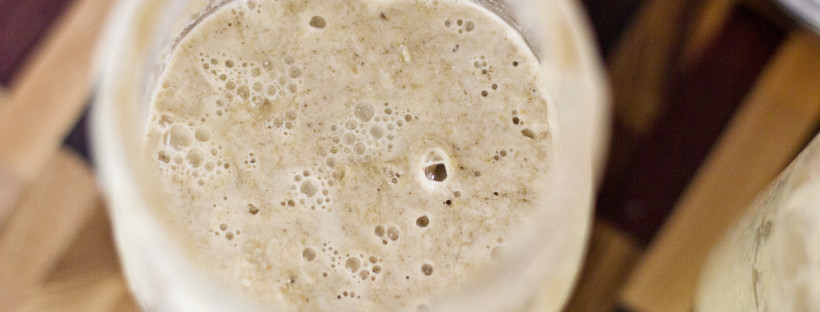
Above is a starter that has been pulled out of the fridge to use. You can see the bubbles on the surface. To track your start’s progress, you can place an elastic band around the jar to mark where it is after a feeding, then you can see how much it grows. I used to do this all the time, but now I just look for bubbles. If it’s bubbling up, it’s happy and healthy!
You can increase or decrease your start whenever you want. I wanted more last time, so I added 2 c of water and flour to my 1 c of starter, giving me 3 c of starter when it was done. I had plenty to bake with and try new recipes with (I am having way too much fun finding ways to use my start). I now have two very active and thriving starts in my fridge that make me happy every time I open the door.
I like to keep at least 2 c of starter on hand at all times. Most recipes for two loaves of bread will require 1/2 c starter, plus you can make pancakes, waffles, crepes, muffins, scones, pizza dough, etc. If you start using it regularly, you will find more and more ways to use it and will want to make sure you always have enough.
Even if you aren’t going to be using your starter to bake anything, you must keep feeding it. Just take out half of it, throw it in the compost pile, down the drain (it’s really great for septic systems), or give it to the chickens, and feed the other half. That way you keep it healthy, but don’t have to stress if you don’t have time to bake something that day.
Starter can also be frozen (think ice cube tray) and kept for up to a month that way. Just remove the frozen cubes, thaw, and feed and you should be ready to go.
That’s all there is to it! Take good care of it, and it will give you plenty in return!
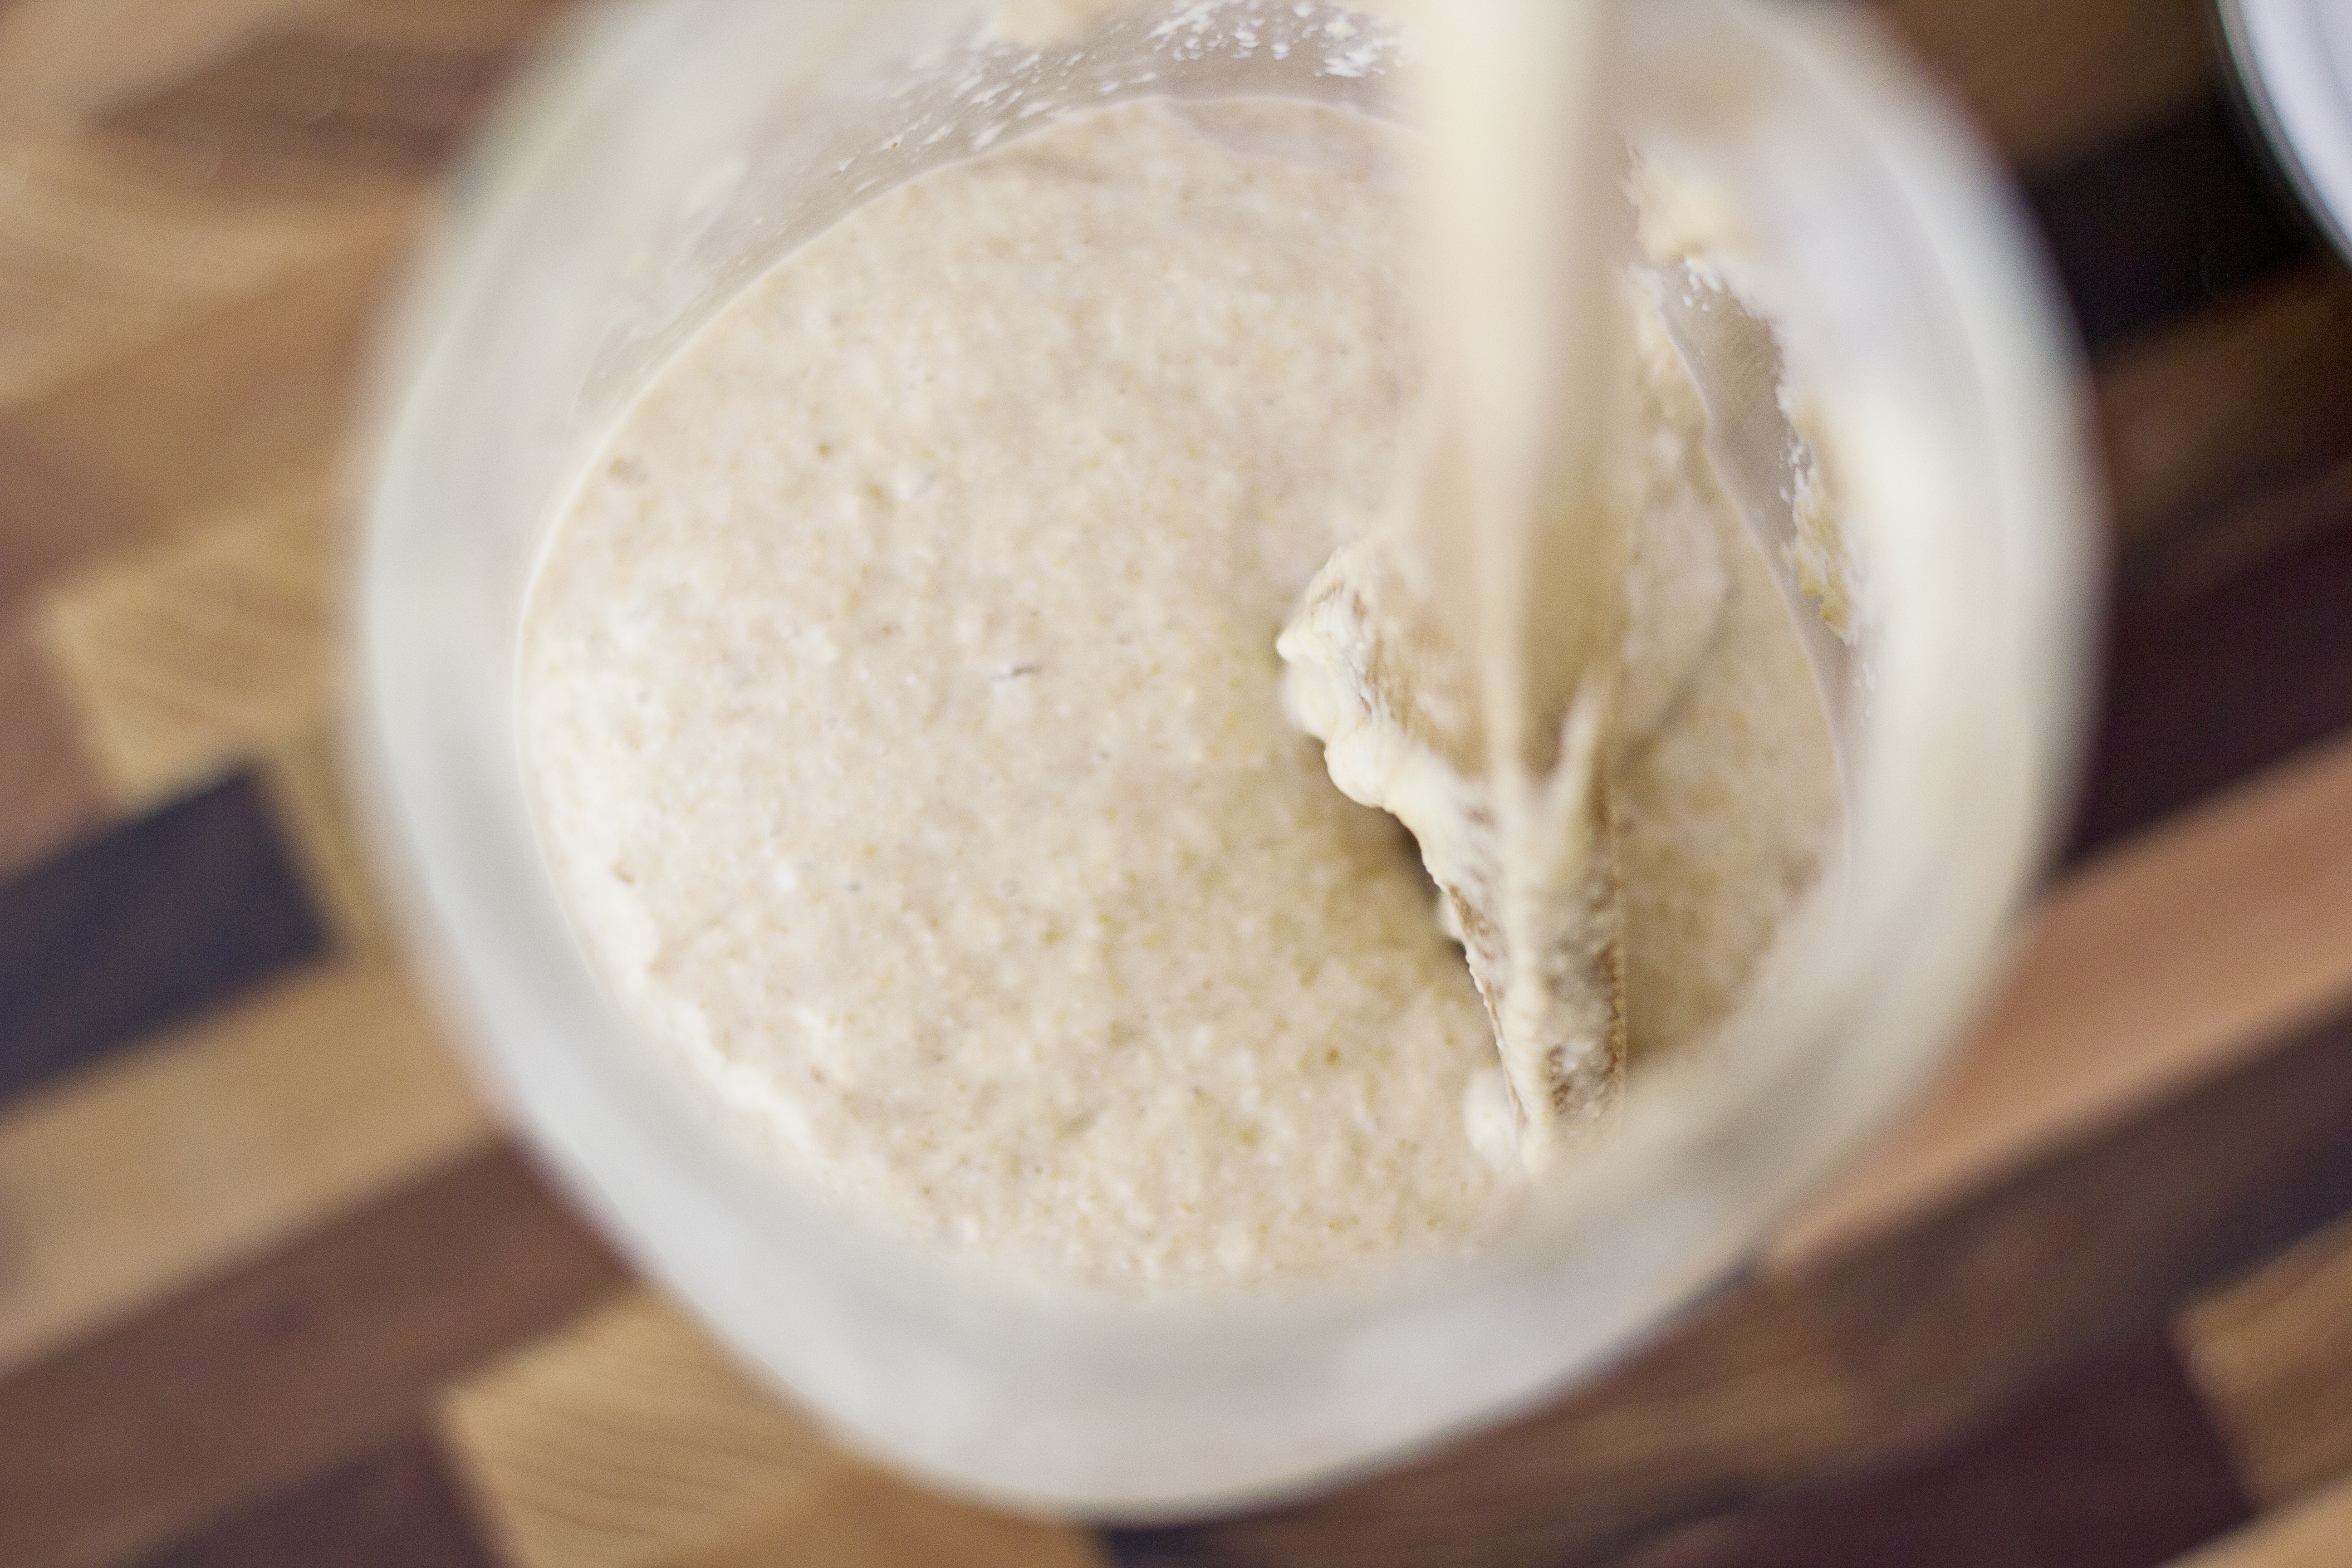
Here is a quick video to help you see the texture!


So I was reading through your info sheet you gave us Wednesday night, because I want to feed my starter to get more for baking. It says chlorine will can kill the starter. There would be chlorine in our town water! What would you recommend I do?
By healthy starter do you mean growing and thriving or do you mean it needs to be made with whole wheat/healthy flour? I ask because my sis in law has a starter (yay!!) but it probably has been fed with bleached white flour and sometimes even apple juice (??) I think. Could I use that?
Hi Kimber!
Growing and thriving . . . but in my experience, bleached white flour is the worst food for a starter – there isn’t a lot of nutrients for the starter to feed off of in flour that’s been stripped so much. Whole wheat is the best option. But if it’s raising bread well and bubbling up really nicely, you could take some and try converting it to whole wheat by just feeding it that. It will go through a period of transition to its new ‘food’ but it should pick up after a while! Hope that helps!
Thanks that helps!
Kelsey, I’ve been trying to get a good starter going for several weeks but am having same problems you mention when you began. I can’t yet recognize when the starter is ready. Have watched videos etc. but they don’t explain quite enough. Have been told that way to tell if starter is ready to bake with, is to drop spoonful in water to see if it floats. Mine never does! Also, mine doesn’t ever double in size. Well, it does initially because of added flour and water, but then it stays at that level instead of doubling–either on counter or in fridge. I see bubbles on top, but not many below. Am I missing something, or not waiting long enough? Would love to get this right and enjoy the benefits of good sourdough bread.
Hi Anne,
I have actually never heard of dropping it in water! Interesting . . . . I don’t think mine would float either! Mine doesn’t ever double, I don’t worry about that as much as the bubbles. It needs to be bubbling up making lots all over, the bigger the better! I usually see the most bubbles on about day 2-3 after feeding it. If it seems sluggish, you could try reducing your starter to 1/4 c, then doing a “power feed” where you feed it 1/4 c water/flour, wait 2 days, feed 1/2 c water/flour, then wait another 2 days and feed it 1 c water/flour and see if it perks it up a bit! How long are you waiting in between feedings? Feel free to e-mail me: modernhealthymom@gmail.com and I will be happy to help if you have more questions or if that doesn’t work for you!
Thanks,
Kelsey
Do you have a favorite whole wheat flour?
I buy local hard white wheat in bulk, then grind it myself. But Bob’s Red Mill or Wheat Montana Farms are great options. Any 100% whole wheat flour (not the pastry flour, that is soft white wheat) will be good! I like to tell people not to get overwhelmed, and just keep it simple, find what is near you and work with that. I used to have my mom bring me flour from Canada until I realized that was slightly ridiculous to be doing all the time! I have only been grinding my own for about 18 months now, I bought Wheat Montana before that.
Hope that helps!
Yes! Thank you!
I have a starter that I have had for a while and have not used for probably a few years. It’s just been sitting in my fridge and has gone through a move from AZ to California and back. I think I used an all purpose flour in the past when I first got it. I want to start using it again but I’m not sure what I should do. It has liquid on top and the bottom seems sludgy, What do I need to get it started and do you think I will be able to get it going? Thanks for your help!
I think it is definitely possible! Here is what I would do:
DAY 1: pour off the liquid and reduce the starter to 1/4 c.
Feed it 1/4 c water and a heaping 1/4 c flour and put in the fridge
DAY 3: stir and feed 1/2 c water and heaping 1/2 c flour and put back in the fridge
DAY 5: stir and feed 1 c water and heaping 1 c flour
DAY 7: if no bubbles are forming (at all), reduce again and restart this process.
Feeding it more often and using it a lot will get it the happiest. I have never used all purpose to feed a starter, simply because there isn’t as much “in” the flour for the starter to feed off of. I like whole wheat the best, but whatever you choose, stick with it. Starters don’t like to switch “food” all the time, so try and keep feeding it the same flour you start out with this time. It will take a while to adjust, but give it time! At least a couple of weeks, but more like 3 probably.
You can e-mail me: kelsey@simplelifebykels.com and send pictures or ask more specific questions as you go!
This is FASCINATING!!!
haha. I know. It’s a little crazy, but AMAZING.
So I have my starter culture. My daughter needs to be GF for a few months (experimental–gut and behavior problems), so I got this in hopes that she’ll be able to eat products made with this. But now I’m wondering if I need to use ancient wheat? Or should she still be able to try this if it’s used with that Bob’s one you mentioned? Thanks, Kelsey!!
The yeast will help break down the flour to make it more easily digestible. It’s fine for most with issues digesting wheat, so I think the bob’s red mill organic would be a fine option. You could always bake with whatever grains you wanted, using spelt or kamut or einkorn (all ancient grains). That would help! But I think for feeding the starter you would be fine with just an organic whole wheat flour!
Will your starter work with spelt flour?
If you want a spelt flour starter, I recommend first reconstituting with whole wheat flour and SLOWLY trying to transition it to spelt, by adding a little at a time and slowly increasing the amount until you have a completely spelt starter. Starters LOVE consistency, so if you take a whole wheat starter and try to just switch it over to spelt, it will not know how to handle the change.
I’ve dabbled in sourdough several times over the years, some success some failures. I thought you had to do a fresh feeding and then wait until it doubled to use it for bread? Is that because once you get the starter you add it to an overnight sponge and that acts as a fresh feeding? I love you site. I currently have the sourdough waffle sponge sitting in my kitchen waiting for breakfast. : )
hi emily! my method is a little different than traditional sourdough. with this, i feed it then it’s usually day 2-3 that it’s ready for bread after that. mostly i look for big happy bubbles to ensure it’s ready for bread.