


In my search for recipes, I came across several variations of Quinoa patties/cakes. They looked great, and sounded delicious. I’m always looking for new ways to incorporate quinoa, since I don’t particularly like it plain as a side dish. While juicing, I find that I have most of the ingredients on hand to make delicious healthy meals, which is an added bonus to all of this. Before juicing, I had never purchased kale, and my herbs were dried flakes in bottles. Now, however, I have those things in my fridge already. Knowing I was going to try this recipe, I picked up some feta. I have never been a huge fan, but thought I’d give it a whirl.
Quinoa Patties with Yogurt Sauce
2 1/2 cups cooked quinoa, brought to room temperature
5 large eggs, lightly beaten
1/2 teaspoon fine-grain sea salt
2/3 cup finely chopped fresh parsley
1 cup finely chopped kale
1/2 yellow or white onion, finely chopped
3 cloves garlic, minced
1 teaspoon cumin
1 teaspoons baking powder
1 cup whole grain bread crumbs, plus more if needed
1/3 cup crumbled feta
1 tablespoon extra-virgin olive oil or butter (if cooking in a skillet).
These patties can be baked or cooked in a skillet.
If Baking: preheat oven to 400 F
Combine the quinoa, eggs, and salt in a medium bowl. Stir in the parsley, kale, onion, garlic, and cumin. Stir well.
Add the baking powder and bread crumbs, stir, and let sit for a few minutes so the crumbs can absorb some of the moisture.
Gently stir in the feta.

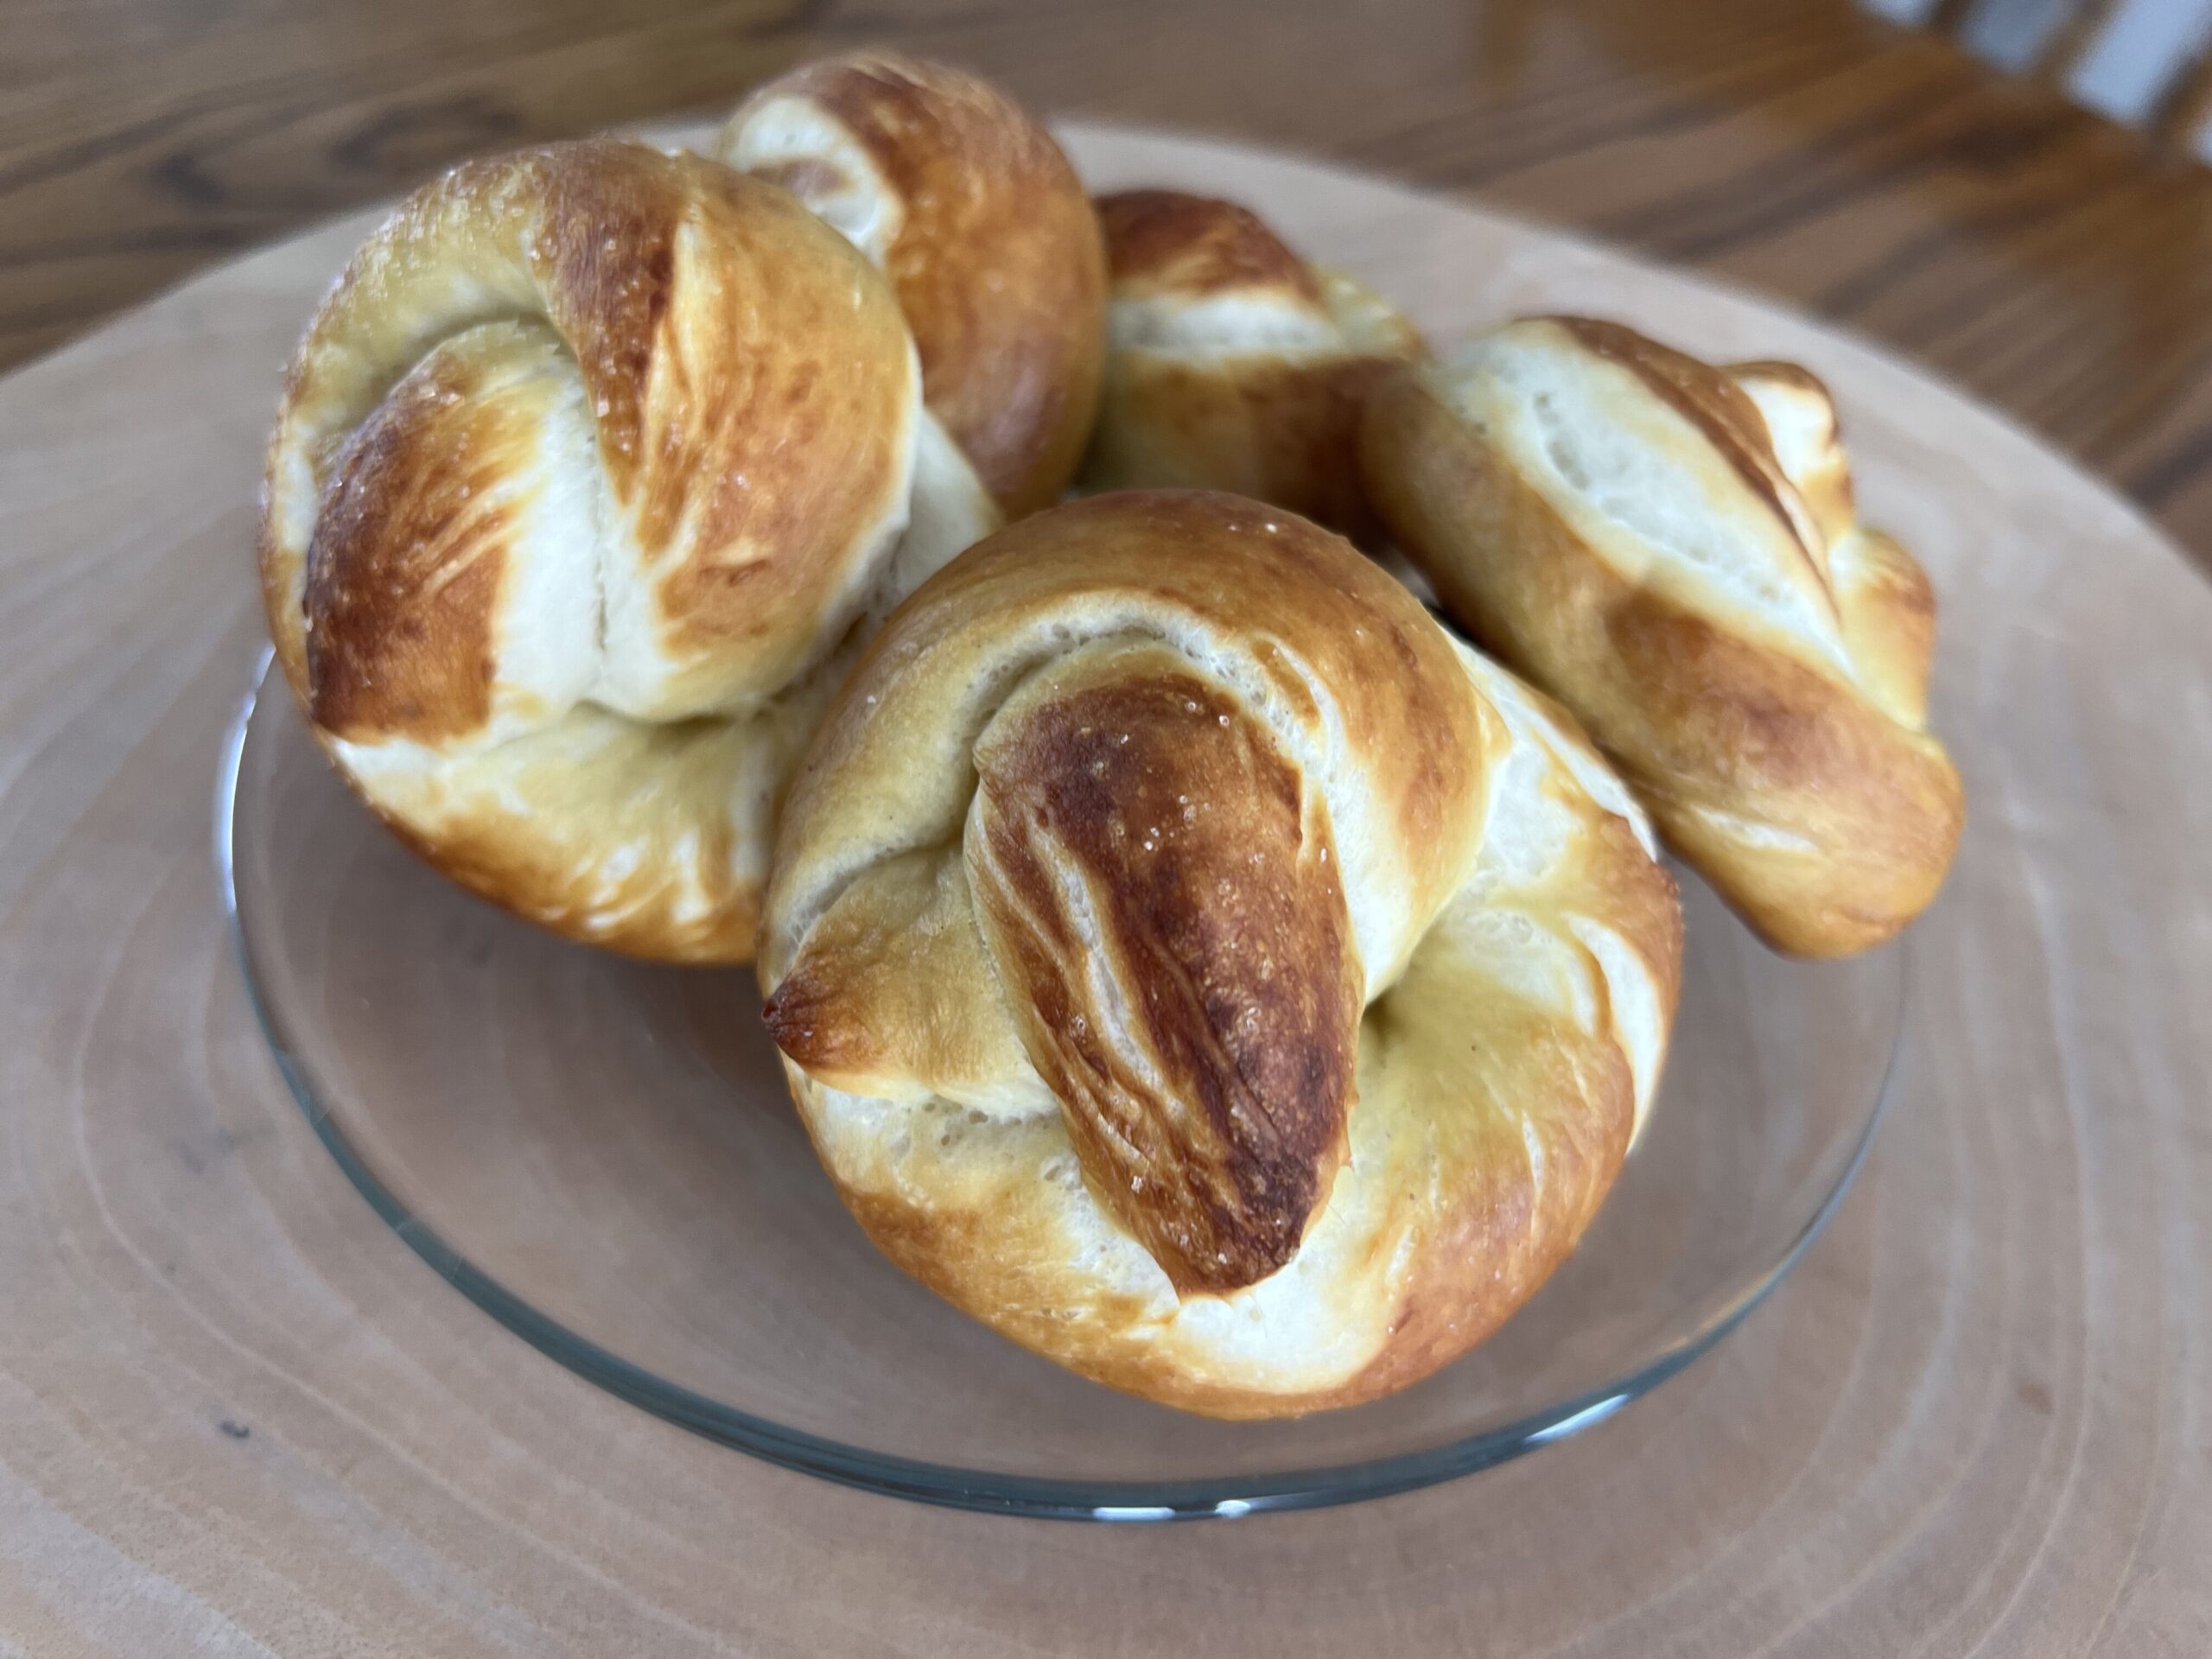
The mixture should now resemble something that can be formed into 12, 1 inch-thick patties. I kept mine pretty moist, so that they wouldn’t dry out in the oven. I was able to form them into patties without much trouble. If the mixture is causing you problems, you can add in a little water if it’s dry, or more bread crumbs if it’s too wet.
Oil a baking sheet, and arrange the patties with a bit of space between each. Bake for 20 minutes, or until the bottoms are brown. Flip and bake for another 5 minutes.

To cook in skillet: Heat the oil in a large, heavy skillet over medium-low heat. Add as many patties will fit with room between each, and cook 7-10 minutes, until the bottoms are deeply browned. Turn up the heat if there is no browning after 10 minutes and continue to cook until the patties are browned. Flip the patties and cook for 7 more minutes, or until golden. Remove from the skillet and cool on a wire rack while you cook the remaining patties. The quinoa mixture keeps in the fridge for a few days, so you can cook patties to order, if you prefer.
Thoughts:
Some recipes called for chives, or dill, or a mixture of herbs. I only had fresh parsley on hand, so I used it and it was great. Next time I’ll try mixing chives and dill for a different flavor. I threw the onion and garlic into my juicer with the mincing cone, and it was wonderful. No mess, perfectly minced onions and garlic, and all I had to do was throw them in. I have switched to Aluminum-free baking powder, and found it at Wal-Mart. For as often as I use baking powder, it was worth the extra 50 cents.
These patties were a success. I decided to throw some plain, whole milk yogurt mixed with some fresh lemon juice on top of them. It added the perfect extra flavor and some moisture to the patties. I served them along with tilapia, and even my daughters tried a bite. They didn’t love them (although my 1 year old loved swirling the bites around in the yogurt and licking it off), but I’m sure they’ll come around once they get used to all of the new ingredients and flavors. My 3 year old is a huge tilapia fan though, and devoured her fish!
These patties are easy to manipulate. Using spinach instead of kale, switching up the herbs, or substituting the feta for parmesan are just a few variations I want to try. This recipe makes a lot; I will probably get about 16 patties from my mixture. I think I will end up baking them and freezing the rest. They will make an easy freezer meal for lunches!
I baked ours last night, and fried some up for lunch today. Both methods worked well; the skillet was faster, but you have to pay closer attention.


Hi Kels! I have been anxiously waiting for you to share your new blog 🙂 I just finished reading all your posts and am so excited. I always loved your nutritional posts on the other blog so a whole blog dedicated to this is awesome. I look forward to learning more!